You are not alone, and that is exactly why mastering smartphone food photography tips can completely change the way you capture and share your culinary moments. Whether you are dining at a cozy restaurant or cooking a homemade meal in your kitchen, the camera already in your pocket holds incredible potential to create scroll-stopping food content.
Food photography is no longer limited to professionals carrying expensive DSLR cameras. Today, millions of home cooks, food bloggers, and restaurant owners rely on their phones to showcase dishes that look just as stunning as magazine covers. With the right mobile food photography techniques, proper kitchen photography lighting, and a few clever food styling tricks, anyone can turn a simple meal into a visual masterpiece worth sharing.
In this detailed guide, we will walk you through practical, experience-based smartphone food photography tips that actually work in real-world settings. From adjusting your phone camera settings for the perfect exposure to finding the best angles in both restaurant and home environments, every tip shared here comes from hands-on practice and tested results. You will also learn how natural light, composition rules, and simple editing apps can dramatically elevate your food content creation game without spending a single dollar on gear.
Whether you are just starting your food blog or looking to improve your restaurant’s social media presence, these smartphone food photography tips are designed to give you immediate, visible results. So grab your phone, plate something delicious, and let us get started.
Why Smartphone Food Photography Tips Matter More Than Ever Today
The way we discover and choose food has changed dramatically over the past decade. Social media platforms like Instagram, TikTok, and Pinterest have turned food into a visual experience long before the first bite. For restaurant owners, food bloggers, and home cooks alike, a single well captured image can attract thousands of new followers, customers, and engagement. This is precisely why learning smartphone food photography tips has become an essential skill rather than a casual hobby.
Related Article: Advanced Food Photography Styling Tips Every Serious Photographer Needs to Know
The global food photography market continues to grow as brands and creators invest heavily in visual content. You no longer need a professional studio or expensive equipment to produce high quality food images. Your smartphone, combined with the right knowledge and techniques, is more than enough to create content that resonates with your audience and builds trust around your culinary brand.
Understanding the Basics Behind Effective Smartphone Food Photography Tips
How Your Smartphone Camera Actually Works for Food Shots
Before diving into advanced techniques, it helps to understand what makes your phone camera capable of capturing stunning food images. Modern smartphones come equipped with multiple lenses, advanced AI processing, and manual control options that rival entry level DSLR cameras. Features like portrait mode, HDR, and RAW shooting give you tremendous creative flexibility when photographing meals.
The key is learning how to use these built in tools intentionally. Most people rely on auto mode and never explore the full potential of their device. When you apply focused smartphone food photography tips like adjusting exposure, locking focus on the subject, and switching between lenses, the difference in image quality becomes immediately noticeable.
The Role of Natural Light in Smartphone Food Photography Tips
Lighting is the single most important element in any form of photography, and food is no exception. Natural light from a window creates soft, even illumination that makes dishes look fresh and inviting. Harsh overhead artificial lighting, on the other hand, often casts unflattering shadows and changes the true color of food.
For the best results in your mobile food photography journey, position your plate near the largest window in your kitchen or dining space. Shoot during the golden hours of morning or late afternoon when sunlight is warm and diffused. If direct sunlight creates hard shadows, use a simple white curtain or sheet of parchment paper as a diffuser. These small adjustments in kitchen photography lighting can transform an average photo into something truly professional.
Practical Smartphone Food Photography Tips for Every Setting
Tips for Shooting in Restaurants
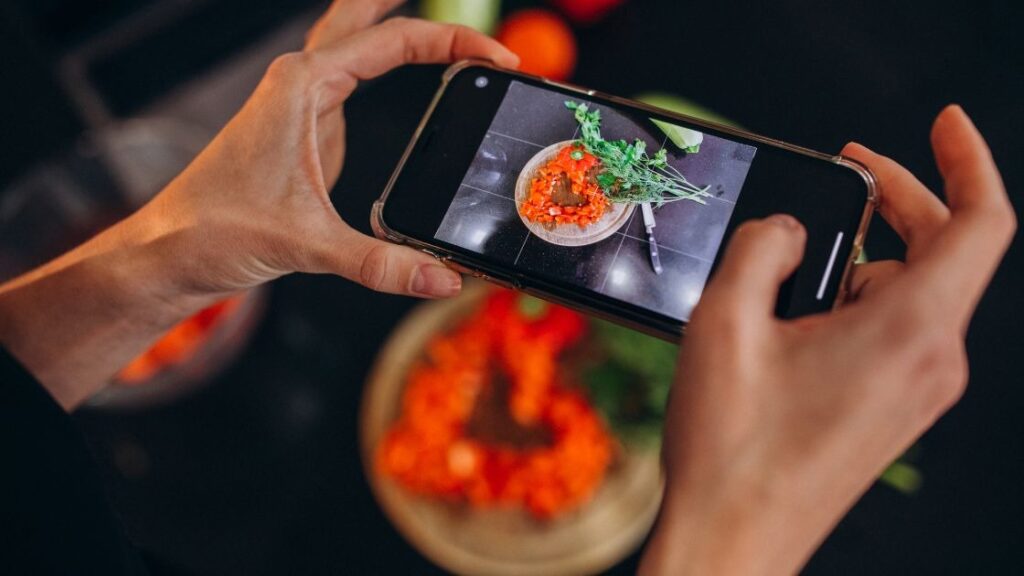
Restaurant environments present unique challenges such as dim lighting, crowded tables, and limited control over your surroundings. However, with a few smart adjustments, you can still capture beautiful food images without disturbing other diners.
- Always request a table near a window for the best natural light available.
- Increase your phone brightness and adjust exposure manually before shooting.
- Use a napkin or white menu as a makeshift reflector to bounce light onto your dish.
- Avoid using flash as it creates harsh and unnatural highlights on the food surface.
- Shoot quickly while the dish is freshly plated to capture steam and texture at their peak.
These smartphone food photography tips work across casual cafes, fine dining restaurants, and even street food stalls where conditions are far from ideal.
Tips for Shooting in Your Home Kitchen
Your home kitchen gives you far more control over every element of the shot. You can adjust backgrounds, swap plates, rearrange ingredients, and take your time perfecting the composition. This is where your food styling tricks and creative eye truly shine.
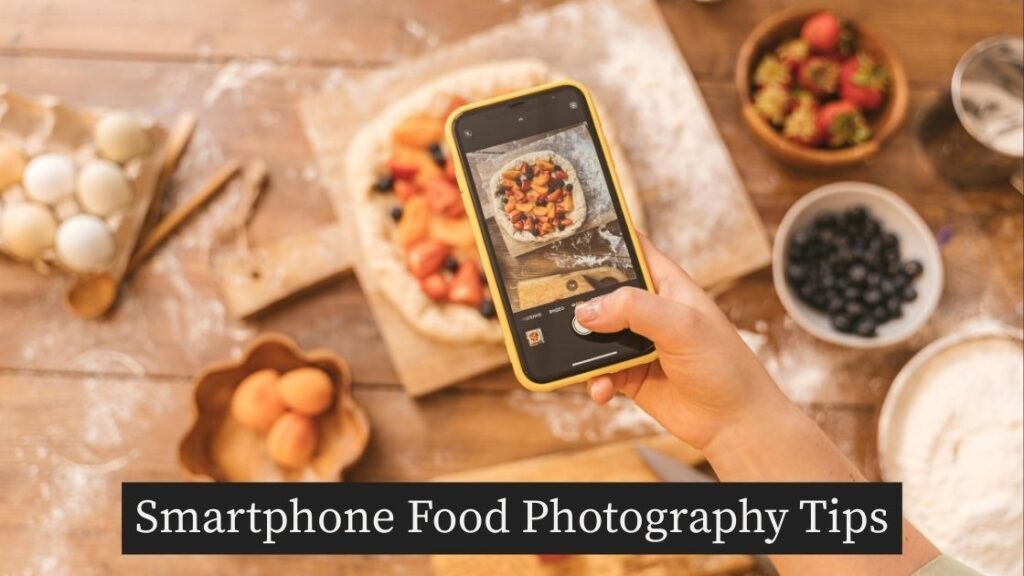
Start by decluttering your shooting area and choosing a clean, simple background that does not compete with the food. Wooden cutting boards, marble slabs, and linen cloths work beautifully as natural surfaces. Experiment with overhead flat lay shots for spreads and bowls, and use a 45 degree angle for dishes with height and layers like burgers, cakes, or stacked pancakes.
Smartphone Food Photography Tips for Composition and Styling That Elevate Shots
The Rule of Thirds and Leading Lines
Great food photography follows the same composition principles used in all visual art. The rule of thirds is the simplest way to create balanced and visually appealing food images. Place your main subject slightly off center using the grid overlay on your phone camera settings and let the viewer’s eye naturally travel through the frame.
Leading lines created by utensils, table edges, or ingredient placement guide attention directly to the hero dish. These subtle techniques separate amateur snapshots from intentional, professional looking food content creation that performs well on social media.
Food Styling Tips for Better Visual Appeal
Styling your dish before photographing it makes an enormous difference. Fresh herbs, a drizzle of sauce, or a sprinkle of sesame seeds can add color, texture, and depth to an otherwise flat looking plate. Always think about contrast when plating. Dark bowls with bright colored food or white plates with rich sauces create images that pop instantly.
Using garnishes strategically and adding human elements like a hand holding a fork or pouring a drink brings warmth and storytelling into your smartphone food photography tips practice. These are the details that make viewers feel connected to your content.
Editing Your Smartphone Food Photography Tips
Best Free Editing Apps for Food Photography
Capturing a great shot is only half the process. Editing brings your image to life by enhancing colors, adjusting brightness, and fine tuning the overall mood. Apps like Snapseed, Lightroom Mobile, and VSCO offer powerful tools completely free of charge that are perfect for food photo editing on phone.
- Use Snapseed for precise selective adjustments and detail enhancement.
- Try Lightroom Mobile presets for consistent color grading across all your food posts.
- Explore VSCO filters for a clean and modern aesthetic that suits food content.
- Adjust warmth slightly upward to make dishes look more appetizing and inviting.
- Sharpen details carefully without overdoing it to maintain a natural and realistic look.
Common Editing Mistakes to Avoid
Over editing is one of the biggest pitfalls in smartphone food photography tips that beginners often fall into. Cranking up saturation too high makes food look artificial and unappetizing. Similarly, excessive smoothing or heavy filter use removes the natural texture that makes food photography feel real and trustworthy.
The goal of editing should always be to enhance what is already there rather than to completely alter the image. Subtle adjustments in exposure, contrast, and white balance are usually all you need to produce a polished final result. Keep your edits consistent across posts to build a recognizable visual identity for your food blog photography brand.
Choosing the Right Angles for Different Dishes
Understanding which angle works best for each type of dish is a fundamental part of applying smartphone food photography tips effectively. Flat items like pizzas, salads, and charcuterie boards look best from directly overhead. Tall dishes like layered desserts, drinks, and burgers benefit from a straight on or slightly elevated side angle that showcases their height and layers.
A 45 degree angle works as a versatile default for most plated meals and is closest to how we naturally see food when sitting at a table. Experimenting with multiple angles during each shoot gives you more options to choose from and helps you develop a stronger eye for food composition techniques over time.
Conclusion
Great food deserves to be seen, and now you have everything you need to make that happen. Throughout this guide, we have explored practical smartphone food photography tips that work in real world settings, from busy restaurant tables to the comfort of your own kitchen. The techniques covered here are not theoretical ideas but hands on strategies built from actual experience and consistent practice.
We started by understanding why visual food content matters in today’s digital landscape and how your phone camera is a powerful tool waiting to be fully utilized. From there, we broke down the importance of natural light in food photography, explored composition rules like the rule of thirds, and discussed how simple food styling tricks can dramatically elevate the appeal of any dish. We also covered practical shooting strategies tailored for both restaurant and home kitchen environments, along with editing workflows using free apps that deliver professional results without any cost.
The truth is, you do not need expensive gear or years of training to produce food images that stop the scroll. What you need is intention, a basic understanding of light and angles, and the willingness to practice regularly. Every meal is an opportunity to refine your smartphone food photography tips and grow your skills further.
Whether you are building a food blog, growing your restaurant’s social media presence, or simply want to impress friends with your food content creation, consistency and authenticity will always outperform perfection. Start applying these smartphone food photography tips today, and watch your visual storytelling transform one dish at a time.