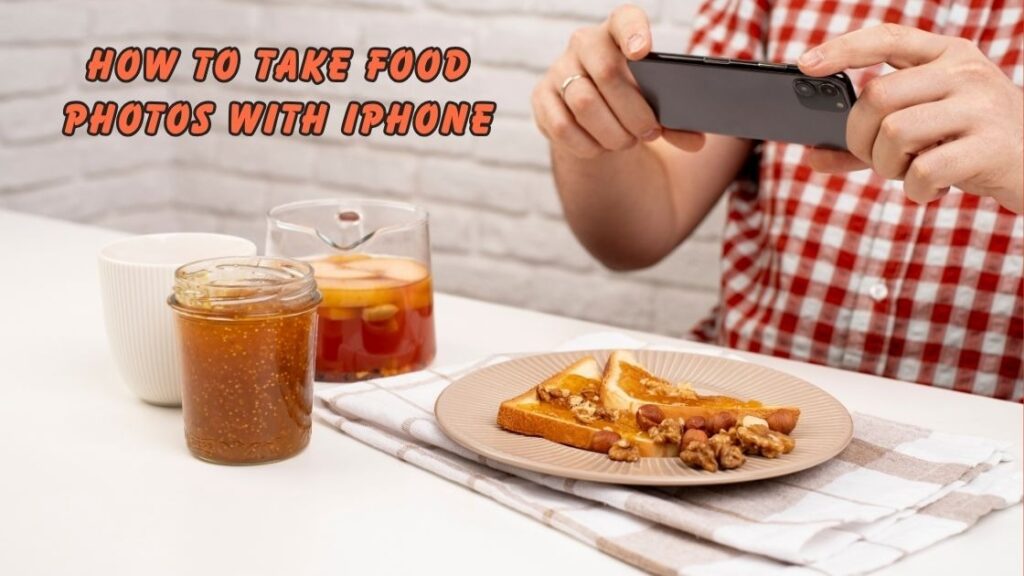
That photo was probably taken by someone who learned how to take food photos with iPhone the right way. You don’t need an expensive DSLR camera or a professional studio setup to capture drool-worthy dishes. Your iPhone sitting in your pocket right now is powerful enough to make every meal look like it belongs on a restaurant menu.
Food photography has become a massive part of our digital culture. Whether you are a home cook sharing recipes, a food blogger building an audience, or a small restaurant owner trying to attract more customers, great food pictures can make all the difference. The good news is that iPhone food photography has evolved so much that even beginners can produce magazine-quality shots with a few simple adjustments.
In this detailed guide, we will walk you through everything you need to know about capturing mouth-watering food images using just your iPhone. From understanding natural lighting and food styling tips to mastering composition and iPhone camera settings for food, this article covers practical techniques that actually work. You will also discover easy editing tricks through mobile food photography apps that can transform a good shot into a stunning one.
Whether you are just starting your journey in smartphone food photography or looking to sharpen your existing skills, this guide is packed with actionable food photography tips that professionals swear by. By the end of this article, you will have the confidence and knowledge to make every dish you photograph look absolutely irresistible. So grab your iPhone, pick your favorite plate, and let’s get started.
Why Learning How to Take Food Photos with iPhone Matters Today
In a world driven by visual content, knowing how to take food photos with iPhone is no longer just a fun hobby. It has become a valuable skill for food bloggers, restaurant owners, home cooks, and social media enthusiasts. Platforms like Instagram, Pinterest, and TikTok thrive on stunning food imagery, and the iPhone has made it possible for anyone to create professional looking content without expensive gear.
The rise of smartphone food photography means your audience expects high quality visuals. A beautifully captured dish can increase engagement, attract followers, and even drive real business results. Understanding how to take food photos with iPhone gives you a competitive edge in the crowded digital food space where first impressions are everything.
Getting Started with iPhone Food Photography
Understanding Your iPhone Camera Features
Before diving into techniques, it is important to understand the tools already available on your device. When learning how to take food photos with iPhone, start by exploring the built in camera modes. Portrait mode creates a beautiful depth of field effect that blurs the background and makes your dish the star of the image. The grid feature helps with composition, while the exposure control allows you to adjust brightness manually.
Newer iPhone models also offer ProRAW and macro photography capabilities, which give food photographers even more creative freedom. Familiarizing yourself with these iPhone camera settings for food is the foundation of capturing great shots.
Essential Equipment You Already Own
One of the best things about learning how to take food photos with iPhone is that you don’t need much extra equipment. Your iPhone, a clean window for natural light, and a simple background like a wooden board or marble surface are enough to get started. However, a small tripod and a white foam board for light reflection can significantly improve your results as you advance in mobile food photography.
Mastering Lighting for Food Photography
Why Natural Light Is Your Best Friend
Lighting is the single most important element when figuring out how to take food photos with iPhone. Natural light from a window creates soft, even illumination that makes food look fresh and appetizing. Avoid using the iPhone flash at all costs because it creates harsh shadows and washes out the natural colors of your dish.
Best Lighting Positions for Food Shots
The direction of light dramatically changes the mood of your photo. Here are the most effective lighting positions when learning how to take food photos with iPhone:
- Side lighting creates depth and beautiful shadows across the plate
- Backlighting adds a warm glow and highlights steam or liquid textures
- Diffused front lighting works well for flat lay food compositions
- 45 degree angle lighting is the most versatile and universally flattering
- Bounced light using a white card fills in dark shadows naturally
Composition and Styling Techniques
The Rule of Thirds in Food Photography
Composition plays a huge role in making your images stand out. When practicing how to take food photos with iPhone, enable the grid lines on your camera and place the main dish along the intersecting points. This simple rule instantly makes your photos look more balanced and visually appealing compared to placing the food directly in the center.
Food Styling Tips That Make a Difference
Great food photography is not just about the camera. It is equally about how you present the dish. Food styling tips like adding fresh herbs for a pop of color, drizzling sauce right before shooting, or using textured napkins as props can elevate a simple meal into a stunning photograph. The goal is to make the viewer feel like they can reach into the screen and grab a bite.
Choosing the Right Angles
Different dishes look better from different perspectives. Understanding how to take food photos with iPhone from various angles is essential for versatility. Flat lays shot from directly above work perfectly for pizzas, salads, and charcuterie boards. A 45 degree angle mimics how we naturally see food at a table and works great for burgers, bowls, and layered desserts. Straight on shots are ideal for tall items like stacked pancakes, beverages, and layered cakes.
Editing Your Food Photos on iPhone
Best Apps for Food Photo Editing
Capturing the shot is only half the process. Editing is where your food photos truly come to life. When mastering how to take food photos with iPhone, learning basic editing is essential. Apps like Lightroom Mobile, Snapseed, and VSCO offer powerful tools specifically suited for smartphone food photography and are completely free to use.
Quick Editing Tips for Mouth Watering Results
You don’t need to spend hours editing every photo. Here are five quick adjustments that make a big impact when learning how to take food photos with iPhone:
- Increase warmth slightly to make food look more inviting and appetizing
- Boost saturation carefully to enhance natural food colors without overdoing it
- Sharpen the image gently to highlight textures like crispy edges or creamy layers
- Adjust highlights and shadows to bring out details in the dish
- Crop the image to remove distracting elements and improve overall composition
Common Mistakes to Avoid
Even after understanding how to take food photos with iPhone, beginners often make avoidable errors. Using too many filters can make food look unnatural and unappetizing. Cluttered backgrounds distract from the main subject. Shooting in low artificial light results in grainy and yellowish images. Ignoring composition rules leads to unbalanced frames that fail to grab attention.
Another frequent mistake is over editing, which strips away the natural beauty of the dish. The key to successful food photography tips is simplicity. Let the food speak for itself while using your iPhone as a tool to enhance its natural appeal. With consistent practice and attention to these details, you will master how to take food photos with iPhone faster than you might expect.
Conclusion
Learning how to take food photos with iPhone is a journey that transforms the way you see and share food forever. Throughout this guide, we covered everything from understanding your iPhone camera settings and mastering natural lighting for food photography to applying professional composition techniques and styling your dishes for maximum visual impact. We also explored the best food photo editing apps that can take your shots from good to absolutely incredible with just a few taps.
The truth is that you do not need expensive equipment or years of training to create scroll stopping food images. Your iPhone comes loaded with every tool you need to get started. What makes the real difference is how you use light, angles, props, and subtle editing to tell a story through your plate. Every great food photographer started exactly where you are right now, experimenting with everyday meals and learning one technique at a time.
Whether you are a food blogger, a small business owner promoting your menu, or someone who simply loves sharing beautiful meals on social media, mastering how to take food photos with iPhone gives you a powerful advantage. Great smartphone food photography builds your online presence, attracts more engagement, and makes your content stand out in a crowded digital space.
Now it is your turn to put these food photography tips into action. Pick up your iPhone, find your best lit window, style a dish you love, and start shooting. The more you practice, the faster you will develop your own unique style. Remember, every stunning food photo you admire online started with someone simply deciding to try. So do not wait for the perfect moment because your next great shot is just one click away.